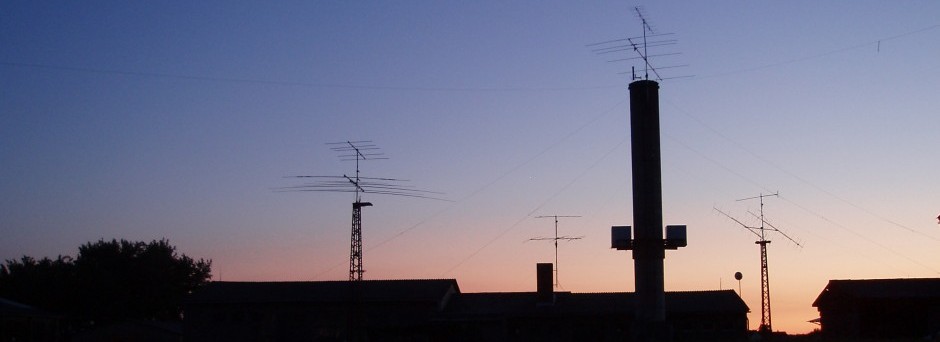
 A sequencer shall protect the radio equipment from damage. If you use a receive pre-amplifier and a power amplifier together with your transceiver it’s important to switch off the pre-amp first before applying power/ptt to the PA and TRX. Otherwise you could easily kill your pre-amp transistor. Besides this sequencing also saves the relay coils – you’ll have much longer fun in using your equipment.
We provided an article on that matter in the German FUNKAMATEUR magazine, issue 6/2008. There are already quite a few solutions on the market but none of them is taking CW into consideration. That’s where our solution kicks in.
With a “normal” sequencer the problem is that you usually only have a PTT contact to make the sequencer stages switch. But what to do in case you want to use CW? Well, the key is usually directly connected to the radio thus if you do not switch the PTT before using the key your sequencer will not work and you will transmit right into the transistor of your pre-amp killing it. So it is rather dangerous – once forgotten to press the PTT for CW use and the pre-amp is gone. Now imagine stressful situations like a contest … how long will it work until you forget to press the PTT? 😉 Another disadvantage is that you could not use automatic CW loops i.e. for calling CQ as you would have to switch the PTT manually. From my experience that really sucks. 😉
With the DH8BQA sequencer it will be no problem anymore. We route the key through the sequencer so with every single dit or dah the sequencer will switch it’s stages automatically. Until all stages are switched the CW line to the transceiver is blocked thus nothing can happen. After every CW sign the sequencer stages are hold high for another 600 ms so you will not have any relay chatter between dots and dashes. I found this nice demo video on Youtube showing the difference between mic ptt keying and cw keying.
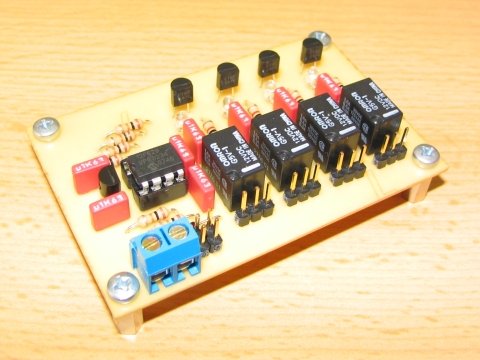
For copyright reasons we can not provide the article on this website (you can buy a back issue of the magazine in the FUNKAMATEUR webshop for just 3 EUR – it’s a worthwhile issue). But you can download the pcb layout here which is provided in PDF format. To make sure you’ll get a correct print-out please select “none page scaling” in the printing options of the Adobe Acrobat reader. The printed pcb layout must measure 75 x 49 mm exactly otherwise something went wrong.
You can also download the component diagram. It should be self-explainatory after all. The schematics are available here, too.
There are 2 HEX files for the PIC 12F629 or 12F675 (which can both be used with the same firmware) – one with 20 ms delay for the switching steps and one with 50 ms delay. The CW delay (i.e. how long the sequencer stages hold high after the last dit) is always 600 ms.
Unfortunately I’m not able to deliver any PCBs or PICs, just not enough spare time. 🙁 Anyway, usually it should not be a problem to find another HAM at your local radio club who’s able to burn PICs or produce PCBs. Or try looking for a Maker Workshop or Maker Space nearby, they are usually able to help out, too.
In case of any other questions please contact me through email to:
![]()
Disclaimer: Please accept that we do not take any responsibility for any system damage you do on your own equipment while using this solution. It has been thouroughly tested over a few month’ time and worked flawlessly in all respects. But we can ofcourse not ensure that you do everything right when building up the pcb. Commercial use of any of my ideas or project parts (pcb, schematic, software) is strictly forbidden and protected by copyrights! But you can use everything for private use only, no problem. If you are interested to produce a commercial solution please get in contact using the above mentioned e-mail adress, thanks.